Step 1
Project setup
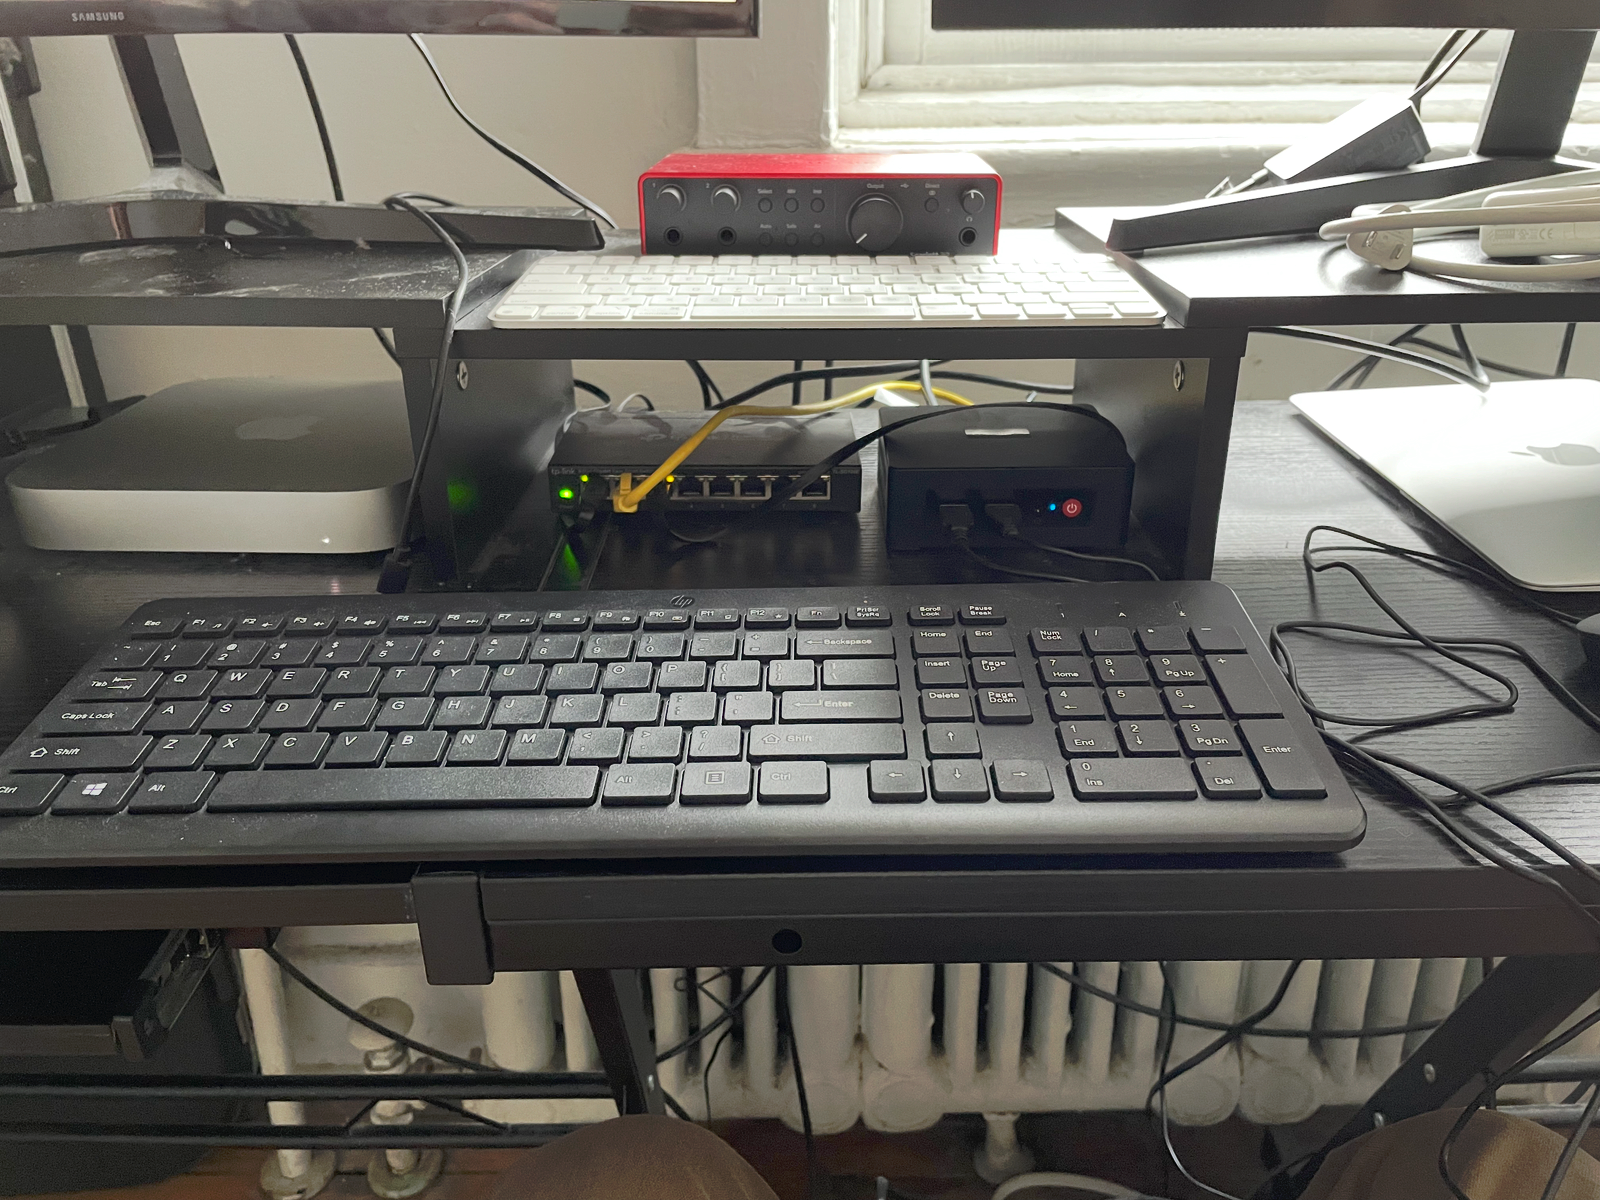
Created a dedicated container project folder on the Beelink and placed my custom
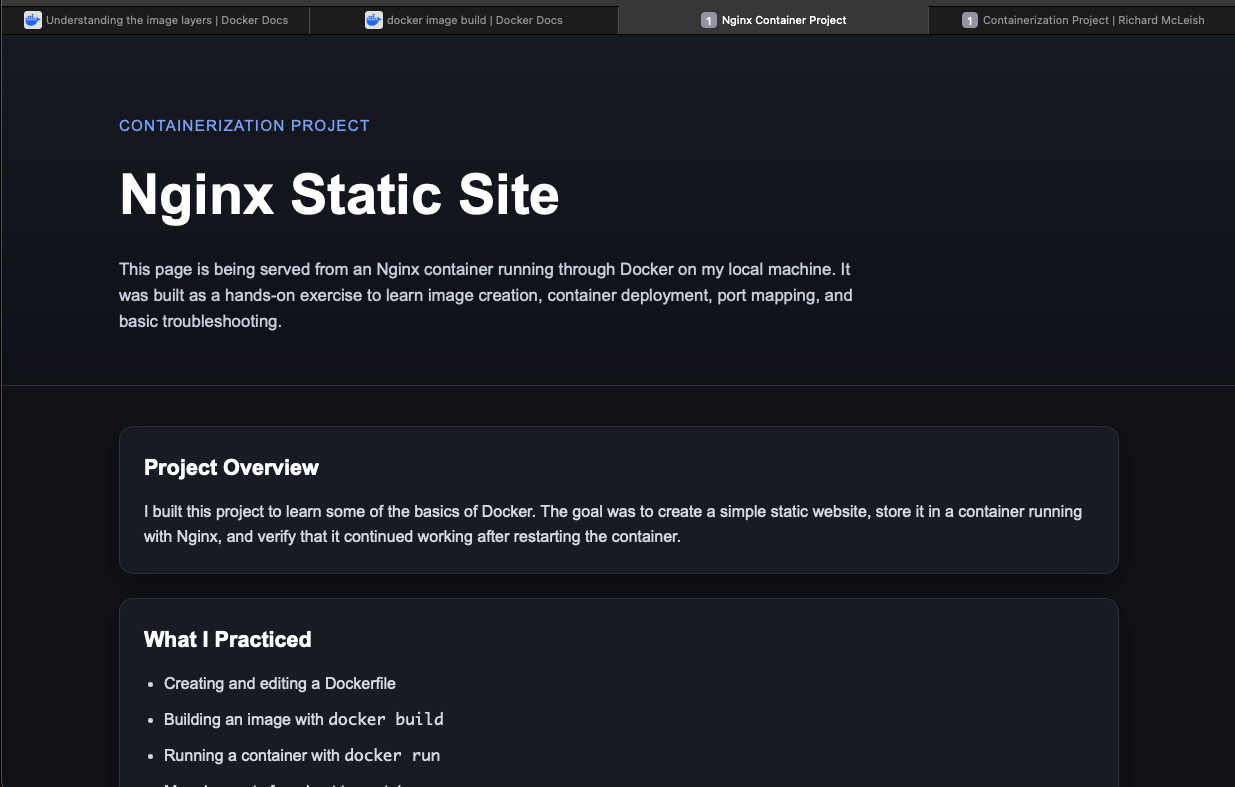
index.html inside it as the content I wanted Nginx to serve.
Project Case Study
I used a dedicated Beelink mini PC to learn containerization in a practical, hands-on way. What began as a simple Nginx deployment developed into building my own custom Docker image, serving a custom HTML page through Nginx, and learning the real workflow of building, stopping, removing, and recreating containers.
Build a first real containerized web deployment on dedicated hardware and understand the full workflow instead of just launching a premade image once. The goal was to move from theory into practice: create the project files, write a Dockerfile, build an image, run the container, map the port correctly, and verify that the hosted page worked after rebuilding and recreating the container.
Dockerfileindex.html served through the container8080 to container port 80.This project became useful because it forced me to troubleshoot real mistakes rather than just copy commands. I ran into several command line and build issues that helped me understand how Docker actually works.
docker run requires an image name at the end of the command.docker stop requires an existing container name or ID.Dockerfile.docker build -t beelink-nginx-site .docker stop beelink-nginxdocker rm beelink-nginxdocker run -d -p 8080:80 --name beelink-nginx beelink-nginx-sitedocker psThis project shows more than just “I installed Docker.” It demonstrates that I can work through the actual container workflow: writing build instructions, understanding image creation, correcting mistakes, recreating services properly, and verifying that the final deployment works in the browser. It also gives me a strong base for moving into Docker Compose, multi container projects, and more self hosted infrastructure later.
Build Breakdown
I kept the project small on purpose so I could understand each layer clearly instead of hiding the learning behind too much complexity.
Step 1
Created a dedicated container project folder on the Beelink and placed my custom
index.html inside it as the content I wanted Nginx to serve.
Step 2
Added a Dockerfile that used the official Nginx image as the base and copied my custom HTML file into the correct nginx web root inside the image.
Step 3
Built the image with docker build, then stopped and removed the old container so I
could recreate it from the newly built image instead of assuming the running container updated itself.
Step 4
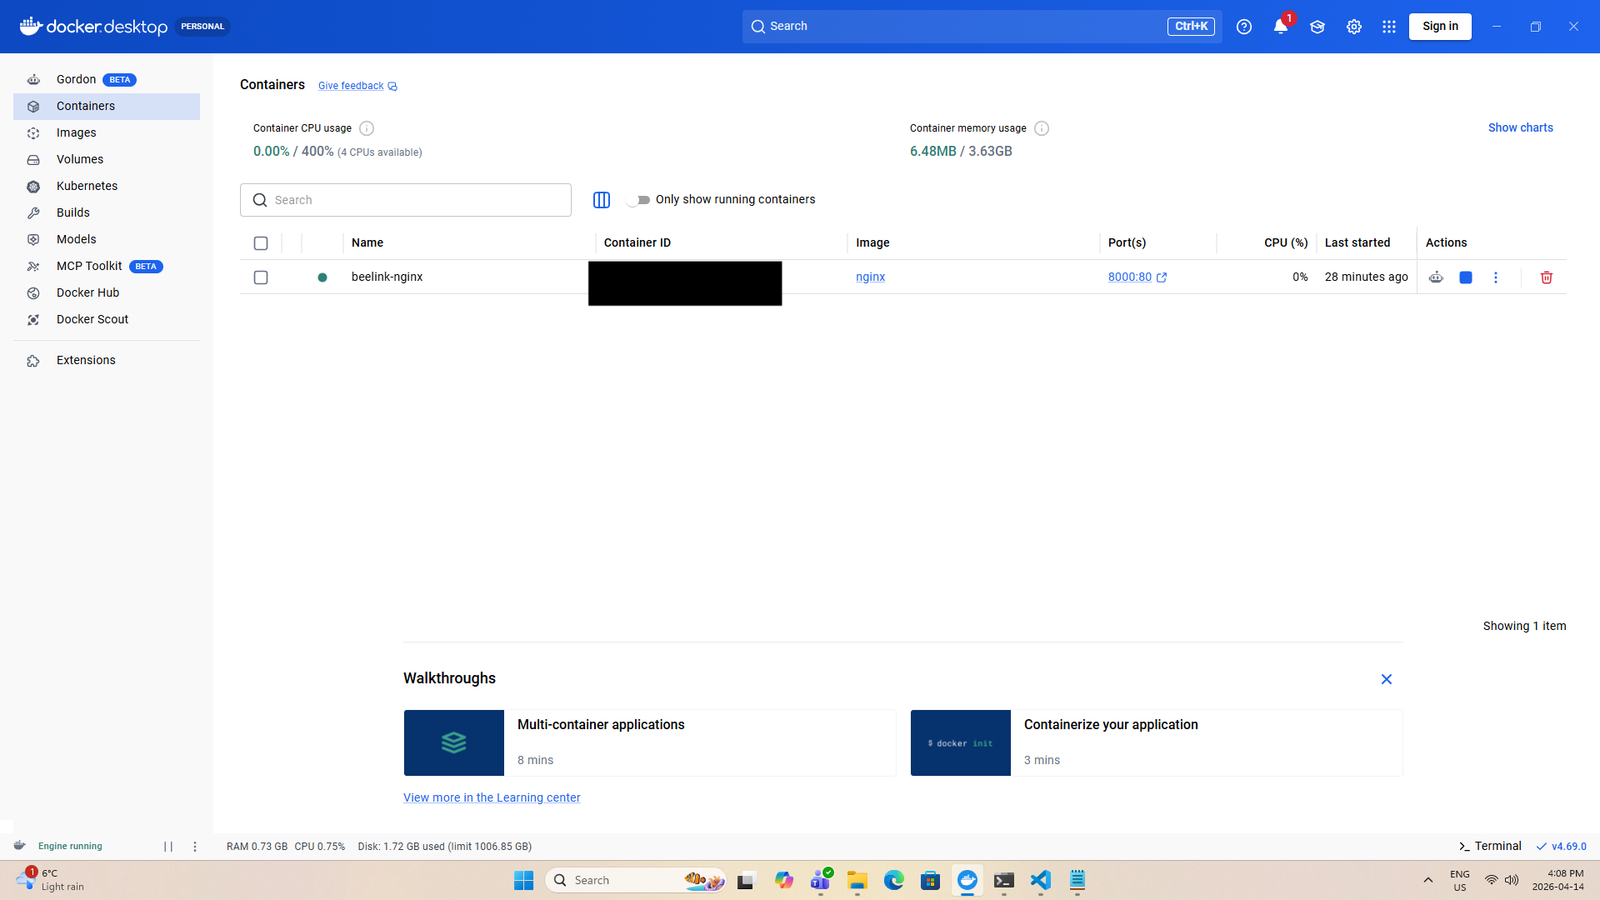
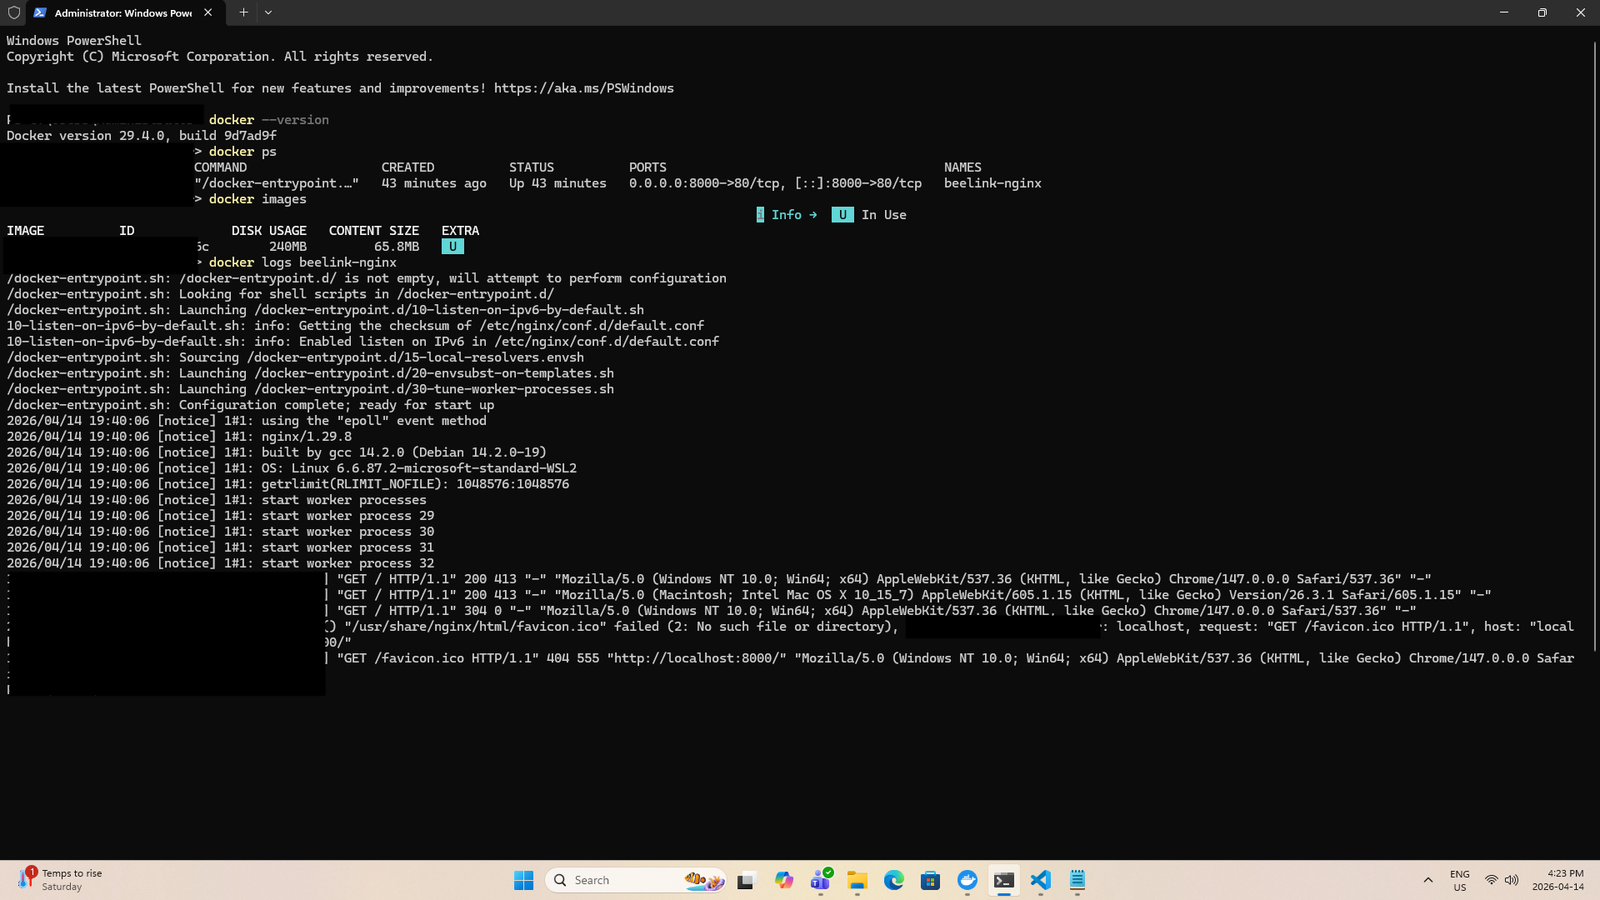
Checked container status with docker ps, verified port mapping, and confirmed the
page loaded correctly in the browser on localhost:8080.
Evidence
These images can show the host machine, Docker environment, successful build, running container, and the custom page loading in the browser.
What I learned
Building an image and running a container are separate steps. Rebuilding does not automatically replace what is already running.
Missing a Dockerfile, forgetting the image name in docker run, or using the wrong nginx
path can completely break the build or deployment.
Repeating the cycle of build, stop, remove, rerun, and verify made the Docker workflow much more concrete.
Next Stage
Move the project into a Compose based workflow so the build and deployment steps are cleaner, easier to repeat, and ready for expansion.
Expand the hosted site beyond a single HTML file by serving a styled multi file page from the container and rebuilding it as the project grows.
Later expand into a reverse proxy, persistence, or additional services to turn this into a more complete self hosted infrastructure project.